基本操作
工具
使用 Postman 进行测试,所以主要内容围绕该工具进行,而 Kibana 也会有相应的代码,只是不过多描述。
Postman 官网下载:https://www.postman.com/downloads/
Windows 访问地址:http://127.0.0.1:9200
如果 ElasticSearch 部署到其他服务器,则地址需要改变:http://ip:port/url
索引基本操作
对比关系型数据库,创建索引就等同于创建数据库
创建索引 PUT
Postman
在 Postman 中,向 ES 服务器发 PUT 请求:http://127.0.0.1:9200/shopping

请求后,服务器返回响应
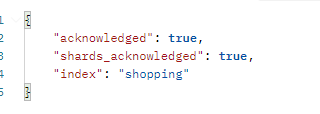
{
    //响应结果
    "acknowledged": true,
    //分片结果
    "shards_acknowledged": true,
    //索引名称
    "index": "shopping"
}创建索引库的分片数默认 1 片,在 7.0.0 之前的 Elasticsearch 版本中,默认 5 片
如果重复添加索引,会返回错误信息
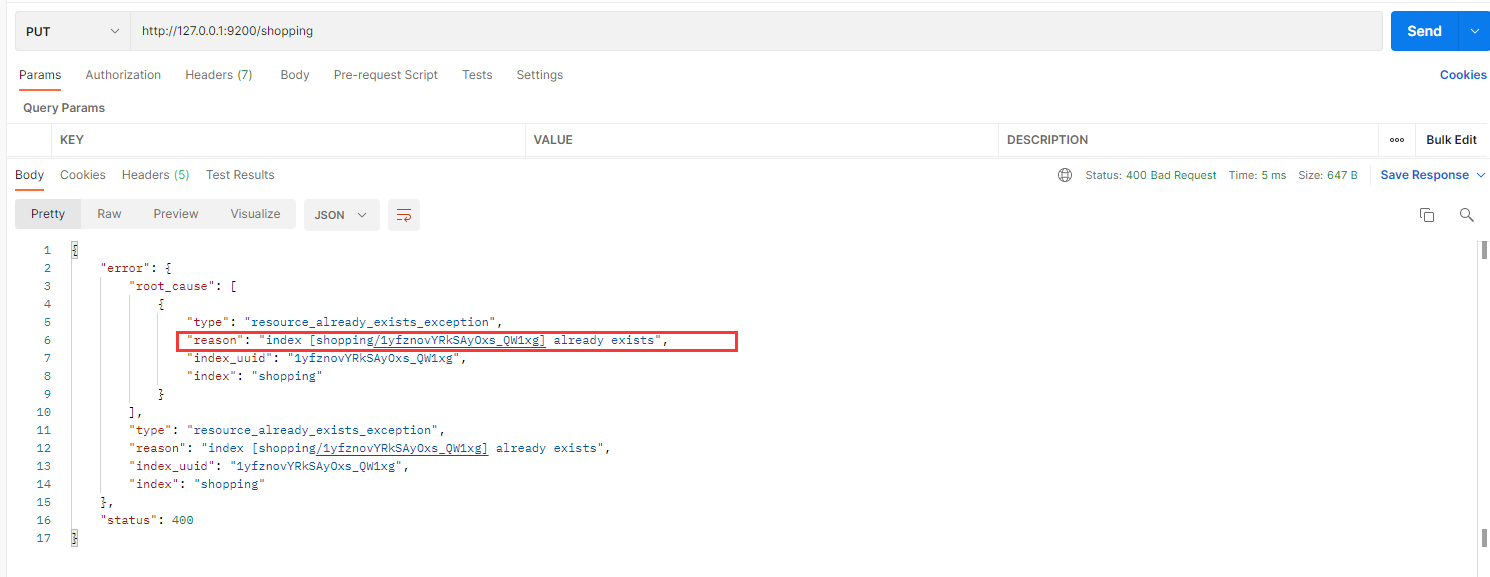
Kibana
PUT /shoppingKibana 里,不需要添加前缀,即 http://ip:port,因为已经在配置文件里进行配置,实际使用就可以省略这些前缀
查看所有索引 GET
Postman
在 Postman 中,向 ES 服务器发 GET 请求:http://127.0.0.1:9200/_cat/indices?v

这里请求路径中的 _cat 表示查看的意思,indices 表示索引,所以整体含义就是查看当前 ES 服务器中的所有索引,就好像 MySQL 中的 show tables 的感觉。
| 表头 | 含义 |
|---|---|
| health | 当前服务器健康状态: green(集群完整) yellow(单点正常、集群不完整) red(单点不正常) |
| status | 索引打开、关闭状态 |
| index | 索引名 |
| uuid | 索引统一编号 |
| pri | 主分片数量 |
| rep | 副本数量 |
| docs.count | 可用文档数量 |
| docs.deleted | 文档删除状态(逻辑删除) |
| store.size | 主分片和副分片整体占空间大小 |
| pri.store.size | 主分片占空间大小 |
Kibana
GET /_cat/indices?v查看单个索引 GET
Postman
在 Postman 中,向 ES 服务器发 GET 请求:http://127.0.0.1:9200/shopping
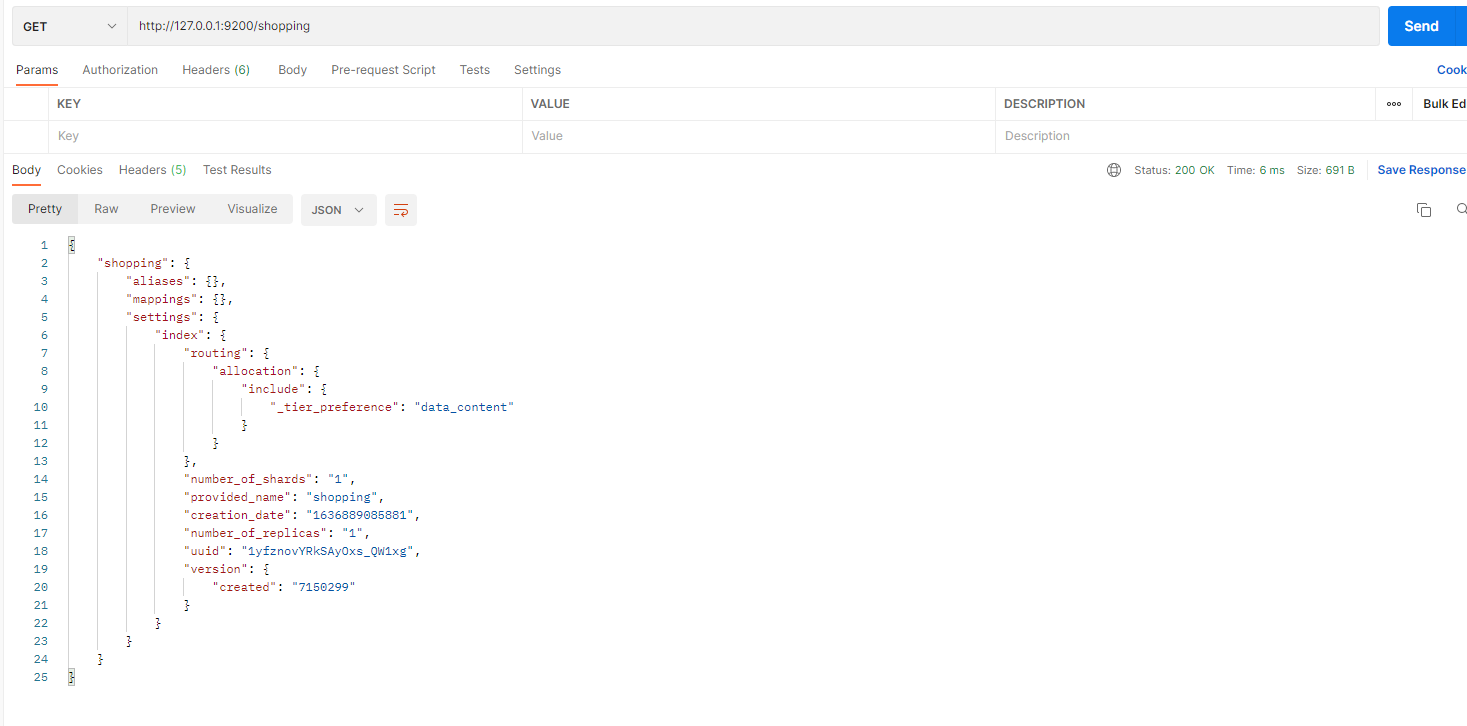
查看索引和创建索引的请求是一致的。但是 HTTP 方法不一致
{
    "shopping【索引名】": {
        "aliases【别名】": {},
        "mappings【映射】": {},
        "settings【设置】": {
            "index【设置 - 索引】": {
                "creation_date【设置 - 索引 - 创建时间】": "1614265373911",
                "number_of_shards【设置 - 索引 - 主分片数量】": "1",
                "number_of_replicas【设置 - 索引 - 副分片数量】": "1",
                "uuid【设置 - 索引 - 唯一标识】": "eI5wemRERTumxGCc1bAk2A",
                "version【设置 - 索引 - 版本】": {
                    "created": "7080099"
                },
                "provided_name【设置 - 索引 - 名称】": "shopping"
            }
        }
    }
}Kibana
GET /shopping删除索引 DELETE
Postman
在 Postman 中,向 ES 服务器发 DELETE 请求:http://127.0.0.1:9200/shopping

Kibana
DELETE /shopping打开/关闭索引
Postman
关闭索引
一旦索引被关闭,那么这个索引只能显示元数据信息,不能够进行读写操作。
POST 请求:http://127.0.0.1:9200/shopping/_close
关闭索引,GET 和 POST 请求进行读和写时候,会报错
打开索引
POST 请求:http://127.0.0.1:9200/shopping/_open
打开后又可以重新读和写数据了
Kibana
POST /shopping/_close
POST /shopping/_open索引的自动创建
添加数据时,没有索引会自动创建索引和字段,如 http://127.0.0.1:9200/shopping/_doc,会自动创建 shopping 和 _doc
禁止自动创建索引
通过在根目录下的 config/elasticsearch.yml 文件里的每个节点下添加下面的配置:
action.auto_create_index: false总结
索引的增删查(单个),都是同一个 Http 请求,不同 Http 类型
查询全部索引,是 /_cat/indices?v
文档基本操作
格式:http://127.0.0.1:9200/索引名/文档名
创建文档 POST
Postman
索引已经创建好了,接下来我们来创建文档,并添加数据。这里的文档可以类比为关系型数据库中的表数据,添加的数据格式为 JSON 格式
在 Postman 中,向 ES 服务器发 POST 请求:http://127.0.0.1:9200/shopping/_doc
请求体:
{
    "title":"小米手机",
    "category":"小米",
    "images":"http://www.gulixueyuan.com/xm.jpg",
    "price":3999.00
}
此处发送请求的方式必须为 POST,不能是 PUT,否则会发生错误
服务器响应结果如下:
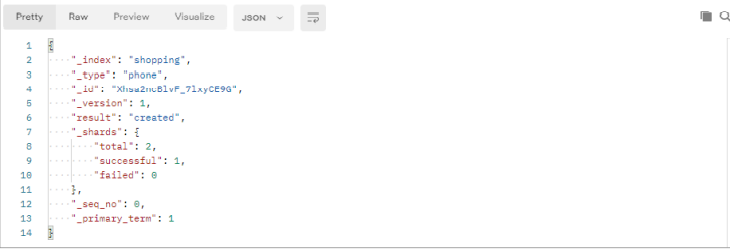
{
    "_index【索引】": "shopping",
    "_type【类型-文档】": "_doc",
    "_id【唯一标识】": "Xhsa2ncBlvF_7lxyCE9G", # 可以类比为 MySQL 中的主键,随机生成
    "_version【版本】": 1,
    "result【结果】": "created", # 这里的 create 表示创建成功
    "_shards【分片】": {
        "total【分片 - 总数】": 2,
        "successful【分片 - 成功】": 1,
        "failed【分片 - 失败】": 0
    },
    "_seq_no": 0,
    "_primary_term": 1
}上面的数据创建后,由于没有指定数据唯一性标识(ID),默认情况下,ES 服务器会随机生成一个。
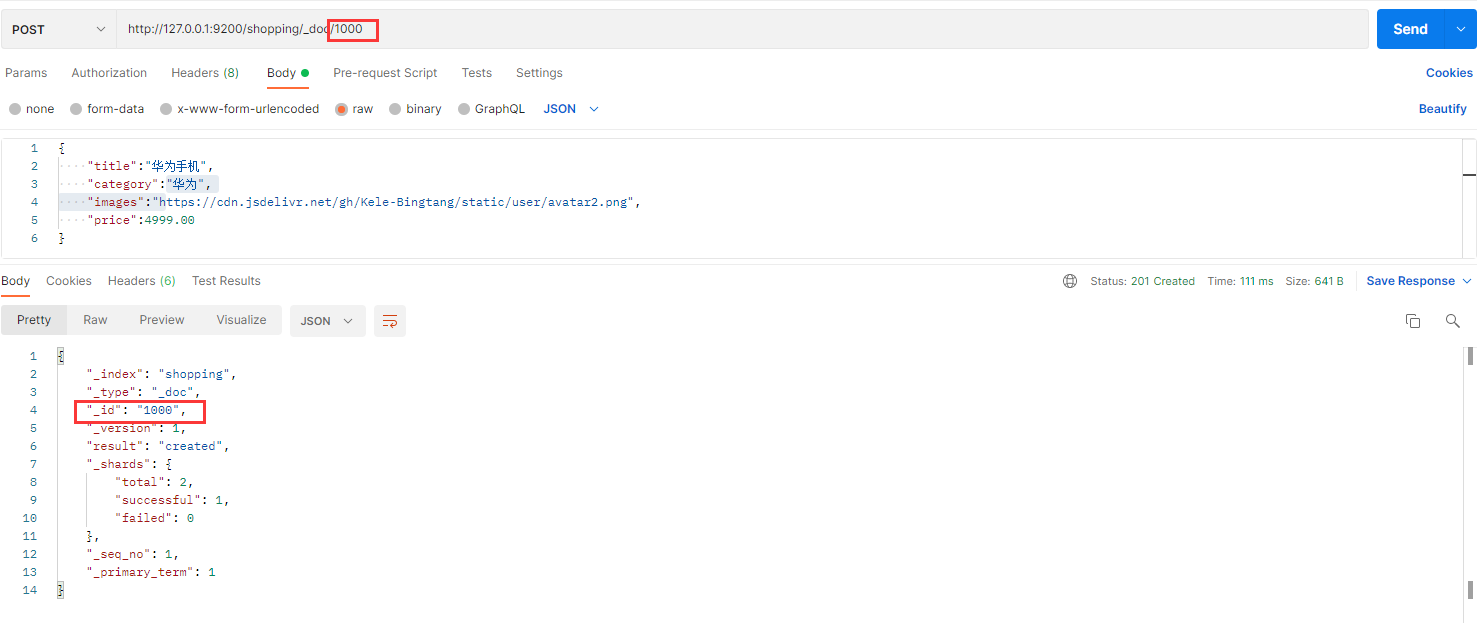
如果想要自定义唯一性标识,需要在创建时指定:http://127.0.0.1:9200/shopping/_doc/1000
请求体内容:
{
    "title":"华为手机",
    "category":"华为",
    "images":"https://cdn.jsdelivr.net/gh/Kele-Bingtang/static/user/avatar2.png",
    "price":4999.00
}
注意:如果增加数据时明确数据主键,那么请求方式也可以为 PUT
Kibana
自动生成ID
POST /shopping/_doc
{
    "title":"小米手机",
    "category":"小米",
    "images":"http://www.gulixueyuan.com/xm.jpg",
    "price":3999.00
}手动指定 ID
POST /shopping/_doc/1000
{
    "title":"华为手机",
    "category":"华为",
    "images":"https://cdn.jsdelivr.net/gh/Kele-Bingtang/static/user/avatar2.png",
    "price":4999.00
}查看文档 GET
Postman
查看文档时,需要指明文档的唯一性标识,类似于 MySQL 中数据的主键查询
在 Postman 中,向 ES 服务器发 GET 请求:http://127.0.0.1:9200/shopping/_doc/1000

返回内容:
{
    "_index【索引】": "shopping",
    "_type【文档类型】": "_doc",
    "_id": "1000",
    "_version": 1,
    "_seq_no": 1,
    "_primary_term": 1,
    "found【查询结果】": true, # true 表示查找到,false 表示未查找到
    "_source【文档源信息】": {
        "title": "华为手机",
        "category": "华为",
        "images": "https://cdn.jsdelivr.net/gh/Kele-Bingtang/static/user/avatar2.png",
        "price": 4999.00
 }
}Kibana
GET /shopping/_doc/1000修改文档 POST
Postman
和新增文档一样,输入相同的 URL 地址请求,如果请求体变化,会将原有的数据内容覆盖
在 Postman 中,向 ES 服务器发 POST 请求:http://127.0.0.1:9200/shopping/_doc/1000
请求体内容为:
{
    "title":"华为手机",
    "category":"华为",
    "images":"https://cdn.jsdelivr.net/gh/Kele-Bingtang/static/user/avatar2.png",
    "price":5999.00
}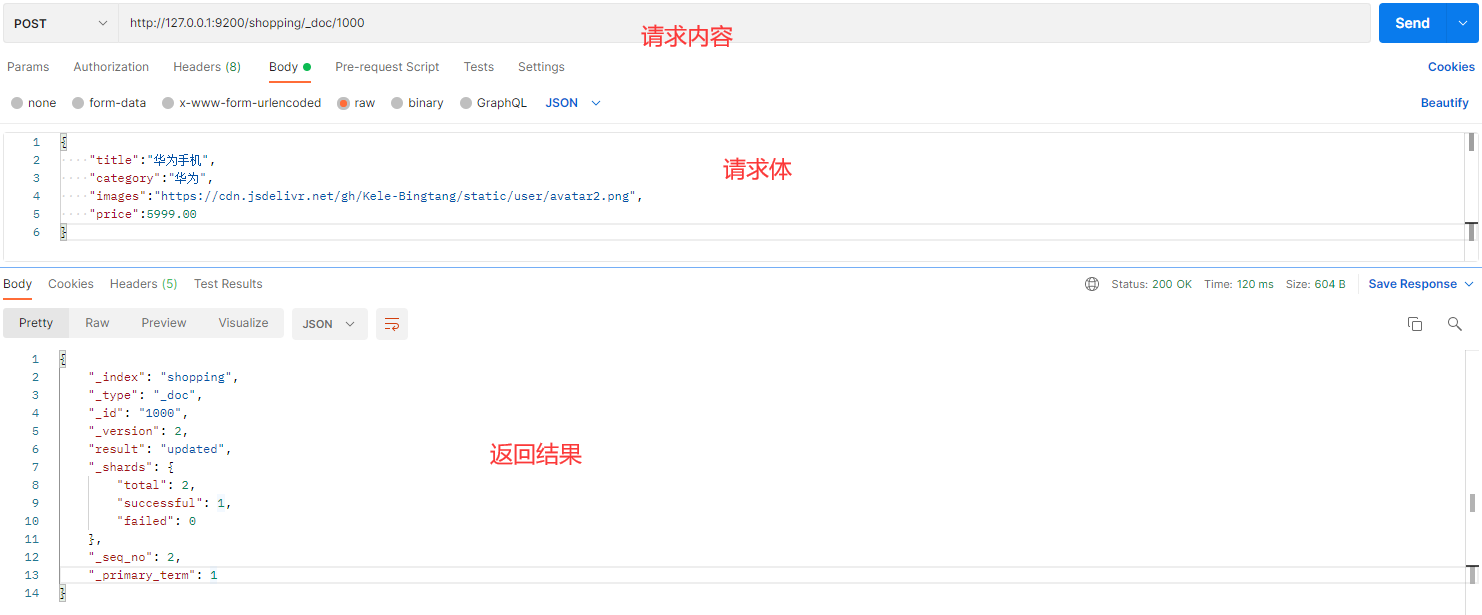
返回结果:
{
    "_index": "shopping",
    "_type": "_doc",
    "_id": "1",
    "_version【版本】": 2,
    "result【结果】": "updated", # updated 表示数据被更新
    "_shards": {
        "total": 2,
        "successful": 1,
        "failed": 0
    },
    "_seq_no": 2,
    "_primary_term": 2
}Kibana
POST /shopping/_doc/1000
{
    "title":"华为手机",
    "category":"华为",
    "images":"https://cdn.jsdelivr.net/gh/Kele-Bingtang/static/user/avatar2.png",
    "price":5999.00
}修改字段 POST
Postman
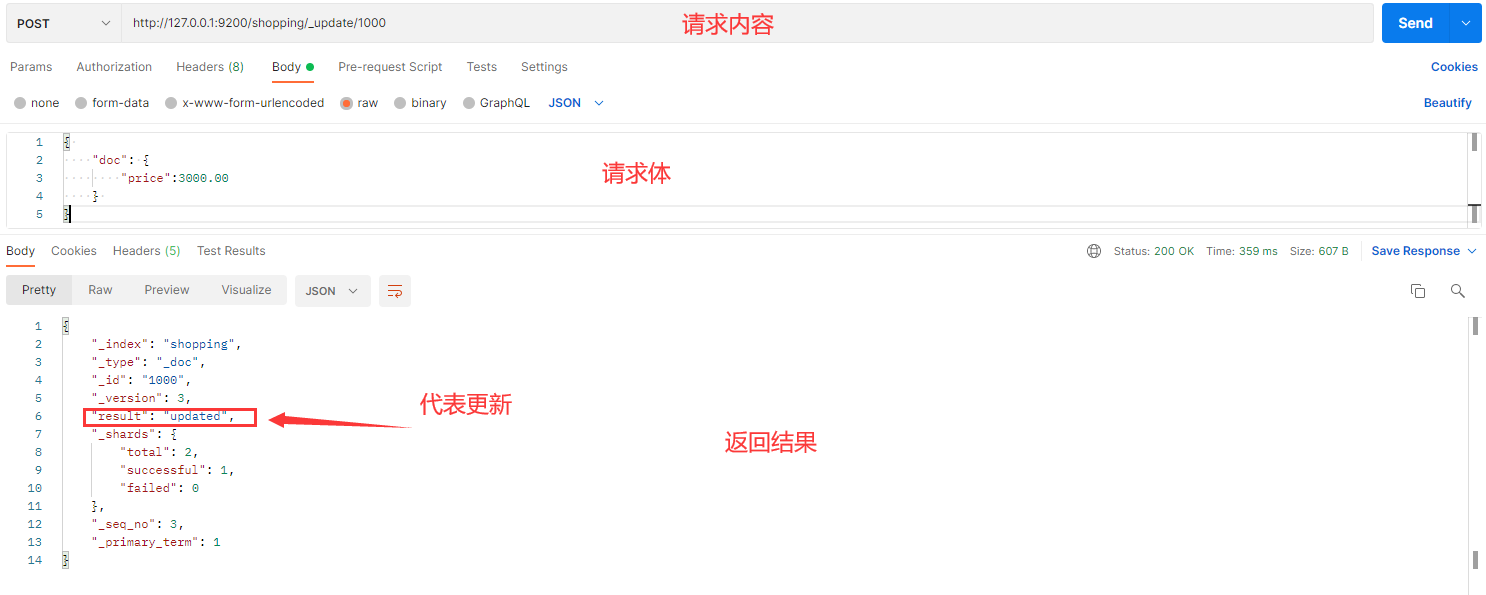
修改数据时,也可以只修改某一条数据的局部信息
在 Postman 中,向 ES 服务器发 POST 请求:http://127.0.0.1:9200/shopping/_update/1000
{
    "doc": {
        "price":3000.00
    }
}
Kibana
POST /shopping/_update/1000
{
    "doc": {
        "price":3000.00
    }
}删除文档 DELETE
Postman
删除一个文档不会立即从磁盘上移除,它只是被标记成已删除(逻辑删除)。
在 Postman 中,向 ES 服务器发 DELETE 请求:http://127.0.0.1:9200/shopping/_doc/1000
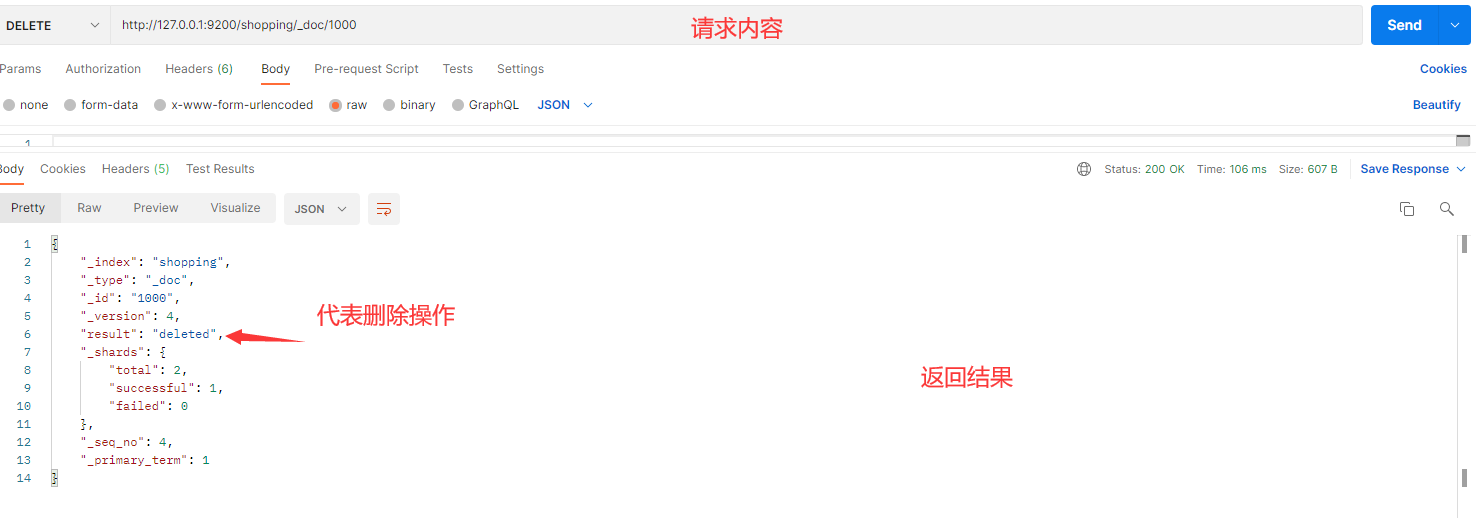
返回结果:
{
    "_index": "shopping",
    "_type": "_doc",
    "_id": "1",
    "_version【版本】": 4, # 对数据的操作,都会更新版本
    "result【结果】": "deleted", # deleted 表示数据被标记为删除
    "_shards": {
        "total": 2,
        "successful": 1,
        "failed": 0
    },
    "_seq_no": 4,
    "_primary_term": 2
}删除后再查询当前文档信息

如果删除一个并不存在的文档

Kibana
DELETE /shopping/_doc/1000条件删除文档 POST
Postman
一般删除数据都是根据文档的唯一性标识进行删除,实际操作时,也可以根据条件对多条数据进行删除
首先分别增加多条数据:
{
    "title":"小米手机",
    "category":"小米",
    "images":"https://cdn.jsdelivr.net/gh/Kele-Bingtang/static/user/avatar2.png",
    "price":4000.00
}
{
    "title":"华为手机",
    "category":"华为",
    "images":"https://cdn.jsdelivr.net/gh/Kele-Bingtang/static/user/avatar2.png",
    "price":4000.00
}在 Postman 中,向 ES 服务器发 POST 请求:http://127.0.0.1:9200/shopping/_doc/1000 和 http://127.0.0.1:9200/shopping/_doc/2000
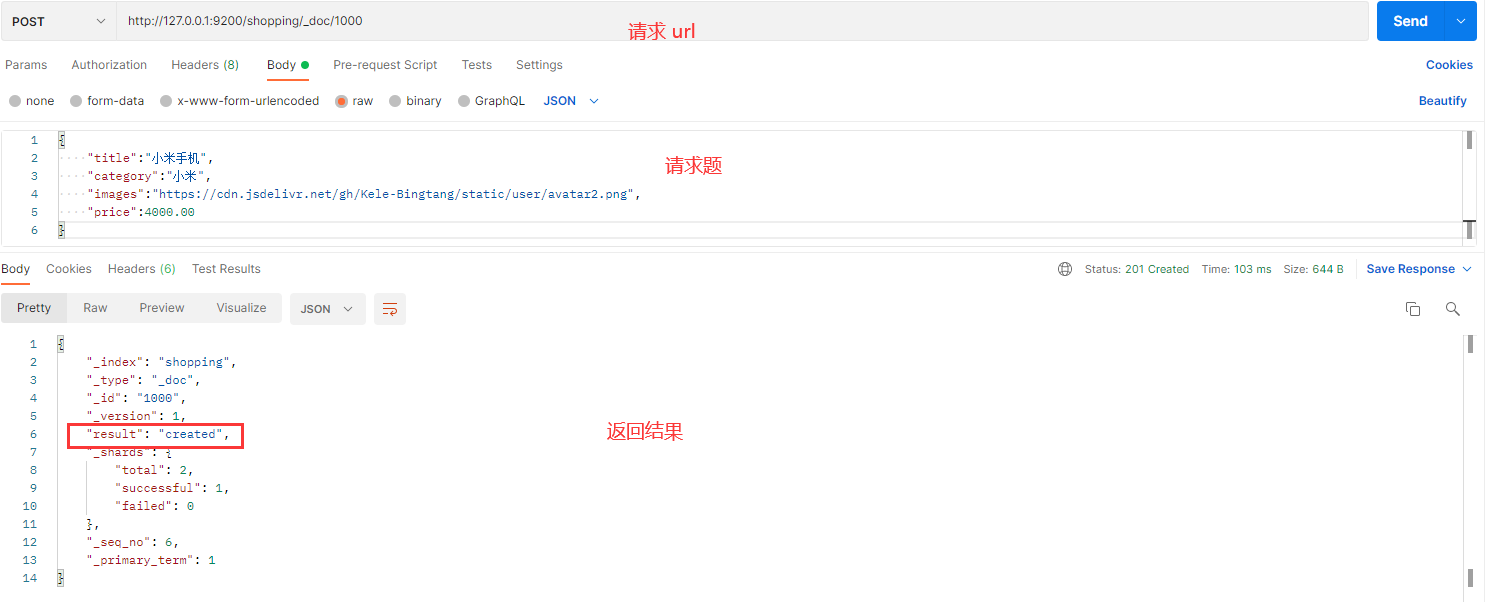

条件删除:向 ES 服务器发 POST 请求 :http://127.0.0.1:9200/shopping/_delete_by_query
删除价格为 4000.00 的文档,请求体内容:
{
    "query":{
        "match":{
            "price":4000.00
        }
    }
}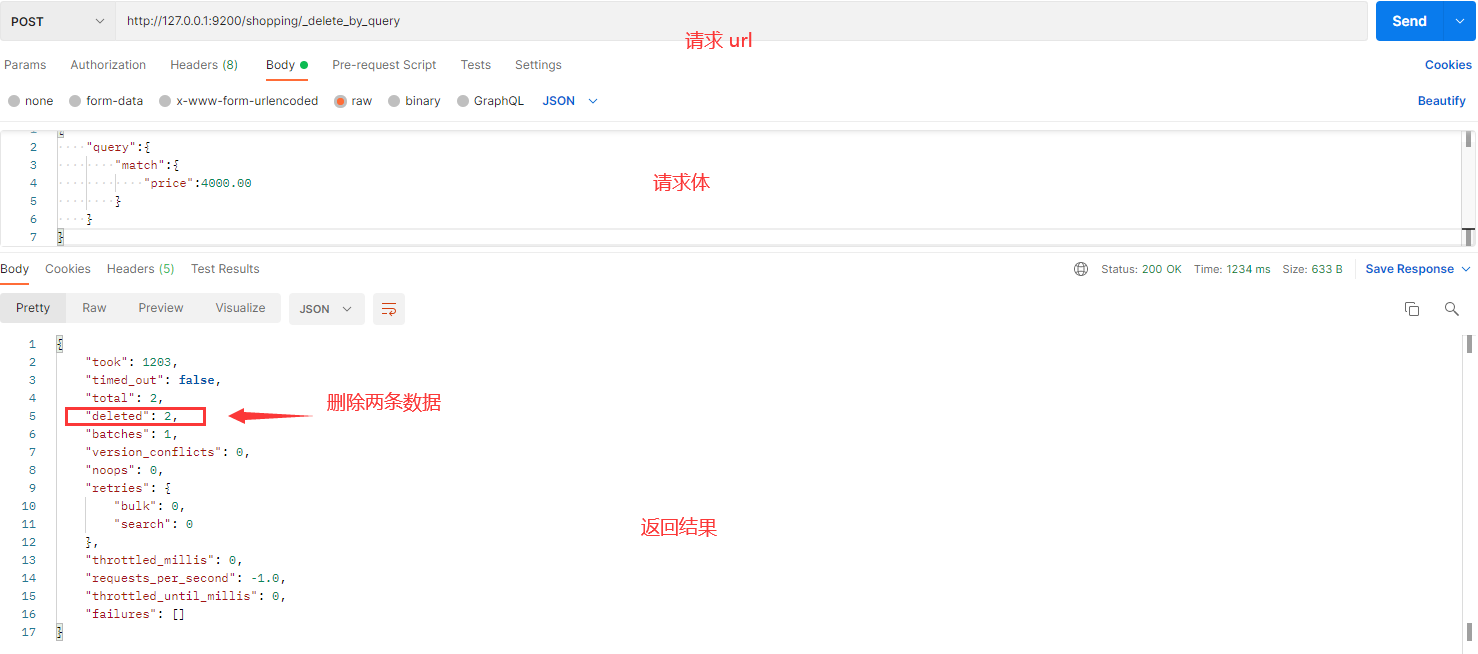
返回结果:
{
    "took"【耗时】: 175,
    "timed_out"【是否超时】: false,
    "total"【总数】: 2,
    "deleted"【删除数量】: 2,
    "batches": 1,
    "version_conflicts": 0,
    "noops": 0,
    "retries": {
        "bulk": 0,
        "search": 0
    },
    "throttled_millis": 0,
    "requests_per_second": -1.0,
    "throttled_until_millis": 0,
    "failures": []
}Kibana
首先分别增加多条数据:
POST /shopping/_doc/1000
{
    "title":"小米手机",
    "category":"小米",
    "images":"https://cdn.jsdelivr.net/gh/Kele-Bingtang/static/user/avatar2.png",
    "price":4000.00
}POST /shopping/_doc/2000
{
"title":"华为手机",
"category":"华为",
"images":"https://cdn.jsdelivr.net/gh/Kele-Bingtang/static/user/avatar2.png",
"price":4000.00
}条件删除:
POST /shopping/_delete_by_query
{
    "query":{
        "match":{
            "price":4000.00
        }
    }
}映射基本操作
原理
有了索引库,等于有了数据库中的 database。
接下来就需要建索引库(index)中的映射了,类似于数据库(database)中的表结构(table)。创建数据库表需要设置字段名称,类型,长度,约束等;索引库也一样,需要知道这个类型下有哪些字段,每个字段有哪些约束信息,这就叫做映射(mapping)。
创建映射 PUT
Postman
首先创建 stuednt 索引,向 ES 服务器发 PUT 请求:http://127.0.0.1:9200/student

在 Postman 中,向 ES 服务器发 PUT 请求:http://127.0.0.1:9200/student/_mapping
请求体内容为:
{
    "properties": {
        "name":{
            "type": "text",
            "index": true
        },
        "sex":{
            "type": "keyword",
            "index": true
        },
        "age":{
            "type": "keyword",
            "index": false
        }
    }
}
映射数据说明:
字段名:任意填写,下面指定许多属性,例如:title、subtitle、images、price
type:类型,Elasticsearch 中支持的数据类型非常丰富,说几个关键的:
- String 类型,又分两种:
- text:可分词,支持模糊查询,支持准确查询,不支持聚合查询
- keyword:不可分词,数据会作为完整字段进行匹配,支持模糊查询,支持准确查询,支持聚合查询。
- Numerical:数值类型,分两类
- 基本数据类型:long、integer、short、byte、double、float、half_float
- 浮点数的高精度类型:scaled_float
- Date:日期类型
- Array:数组类型
- Object:对象
- String 类型,又分两种:
index:是否索引,默认为 true,也就是说你不进行任何配置,所有字段都会被索引。
- true:字段会被索引,则可以用来进行搜索
- false:字段不会被索引,不能用来搜索
store:是否将数据进行独立存储,默认为 false
原始的文本会存储在 _source 里面,默认情况下其他提取出来的字段都不是独立存储 的,是从 _source 里面提取出来的。当然你也可以独立的存储某个字段,只要设置 "store": true 即可,获取独立存储的字段要比从 _source 中解析快得多,但是也会占用 更多的空间,所以要根据实际业务需求来设置。
analyzer:分词器,这里的 ik_max_word 即使用 ik 分词器
Kibana
PUT /student
{
    "properties": {
        "name":{
            "type": "text",
            "index": true
        },
        "sex":{
            "type": "keyword",
            "index": true
        },
        "age":{
            "type": "keyword",
            "index": false
        }
    }
}name 为 text 类型,则说明是可分词的,如 name 有张三、张三、张三丰、张飞、三德子、张二丰、马三丰,只要查询了三,则 name 都会查询出来,类似于数据库的模糊查询
name 为 keyword 类型,则说明是不可分词,数据会作为完整字段进行匹配,如上方查询了三,什么都不会查询出来,因为 name 里没有三
查看映射 GET
Postman
在 Postman 中,向 ES 服务器发 GET 请求:http://127.0.0.1:9200/student/_mapping

Kibana
GET /student/_mapping索引映射关联 PUT
Postman
创建新的索引 student1,与之前的 student 进行映射关联
在 Postman 中,向 ES 服务器发 PUT 请求:http://127.0.0.1:9200/student1
请求体内容:(填写要映射的索引映射内容)
{
    "settings": {},
    "mappings": {
        "properties": {
            "name":{
                "type": "text",
                "index": true

            },
            "sex":{
                "type": "text",
                "index": false
            },
            "age":{
                "type": "long",
                "index": false
            }
        }
    }
}
Kibana
PUT /student1
{
    "settings": {},
    "mappings": {
        "properties": {
            "name":{
                "type": "text",
                "index": true

            },
            "sex":{
                "type": "text",
                "index": false
            },
            "age":{
                "type": "long",
                "index": false
            }
        }
    }
}
